Highlights:
- Gather the right tools and materials, and clean the drain area before starting.
- Understanding your drain type ensures you follow the correct installation method and avoid mistakes.
- Step-by-step installation involves applying plumber’s putty or sealant, securing the drain assembly, connecting the drain pipe, and testing for leaks.
- Common mistakes include over-tightening, misaligning pipes, using too much putty, and skipping leak checks.
- Installing a bathtub drain is generally manageable for DIYers, but damaged tubs or complex plumbing may require professional help.
- Tips for a stress-free installation: protect your tub, keep a bucket handy, follow instructions carefully, and work methodically.
- Regular maintenance, like cleaning the drain and checking for leaks, ensures long-term functionality and prevents water damage.
Installing a bathtub drain can seem like a complicated plumbing job, but it is entirely manageable. This guide provides a step-by-step approach to installing a new bathtub drain or replacing an existing one, ensuring a smooth, stress-free process. All you need are the proper tools and materials to successfully complete the task without hassle.
Why Installing a Bathtub Drain Matters
A properly installed bathtub drain ensures your tub drains efficiently and prevents leaks. Understanding how to install a bathtub correctly—including the drain—helps you avoid costly mistakes and keeps your bathroom safe. An improperly installed drain can lead to water damage, mold growth, and expensive repairs. Taking the time to do it right the first time saves money and headaches in the long run.
Key reasons to install a bathtub drain correctly:
- Prevents leaks around the tub base
- Ensures smooth water flow
- Avoids unpleasant odors from trapped water
- Protects your bathroom flooring and subfloor
What Tools and Materials Do You Need?
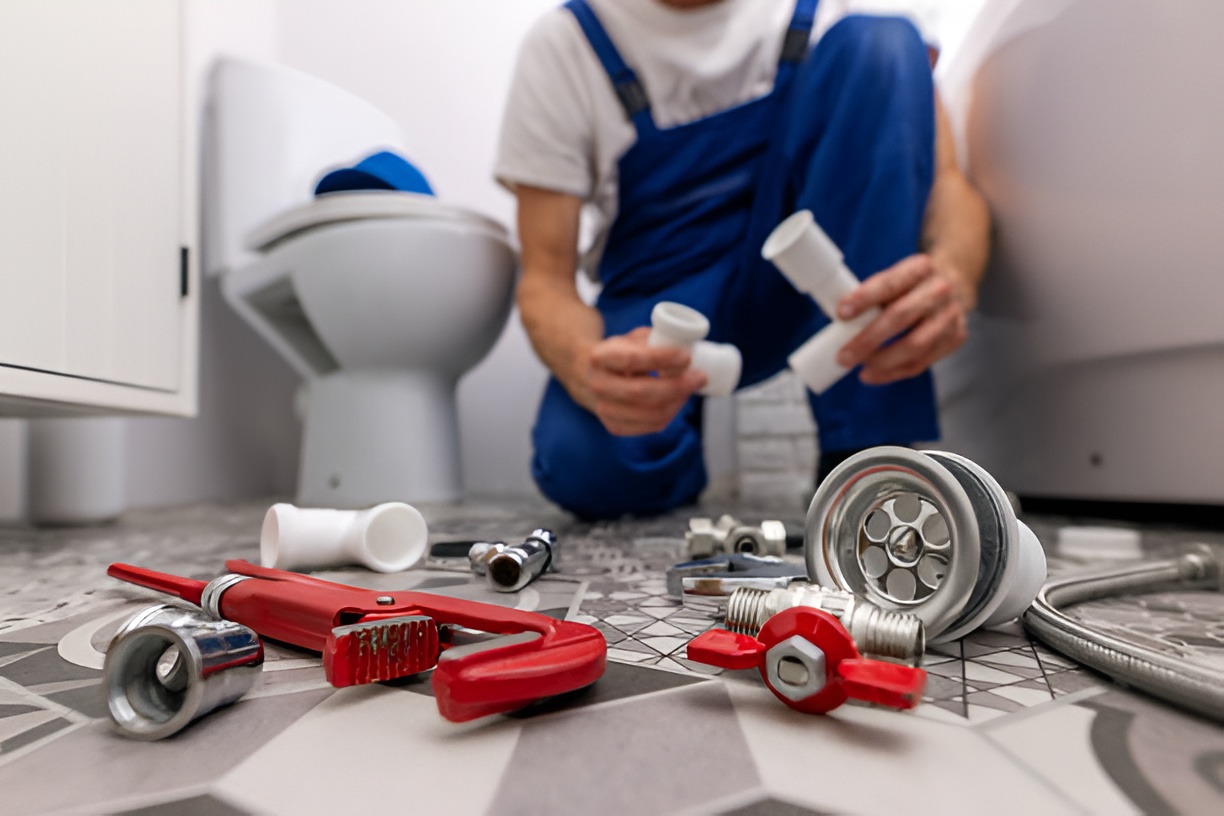
Before you start, gather everything you need. Having the right tools on hand makes the job faster and reduces the chance of mistakes.
Tools:
- Adjustable wrench or channel-lock pliers
- Screwdriver
- Plumber’s putty or silicone sealant
- Hacksaw (if trimming pipes is necessary)
- Bucket or container (for catching any water)
- Towels or rags
Materials:
- New bathtub drain assembly
- Drain flange and stopper (if replacing)
- PVC or metal pipe fittings (as needed)
- Teflon tape (for threaded connections)
Having all your tools and materials ready before you start will make the installation process much smoother.
What Types of Bathtub Drains Are There?
Understanding the type of drain you’re working with helps you choose the correct installation method. Common types of bathtub drains include:
- Toe-Touch or Push-Pull Drains: Operated by pressing or pulling a lever to open and close.
- Lift-and-Turn Drains: Use a knob that you twist to open or close.
- Trip Lever Drains: Typically connected to an overflow plate with a lever and rod mechanism.
- Pop-Up Drains: Feature a lever that operates a stopper inside the drain.
Knowing which type you have will determine the steps required for installation.
How to Remove an Old Bathtub Drain
Before installing a new drain, you need to remove the old one. This step can sometimes be messy if water or debris has accumulated around the drain.
Steps to remove an old drain:
- Clear the area around the tub and remove any drain covers.
- If there’s a stopper, remove it according to its type (unscrew or lift).
- Use pliers or a drain removal tool to unscrew the drain flange.
- Clean the area of old plumber’s putty, silicone, or debris.
Pro tip: Place a bucket underneath the drain pipe to catch any residual water. This keeps the work area dry and minimizes stress.
How to Install a Bathtub Drain Step by Step
Now comes the main part: installing your new bathtub drain. Follow these steps carefully to ensure a leak-free installation.
Step 1: Prepare the Drain Area
- Clean the drain opening thoroughly. Remove any old putty, dirt, or grime.
- Check the area for cracks or damage. Repair any issues before proceeding.
Step 2: Apply Plumber’s Putty or Sealant
- Roll a small amount of plumber’s putty into a rope-like shape.
- Place the putty around the underside of the drain flange.
- For silicone sealant, apply a thin bead evenly around the flange.
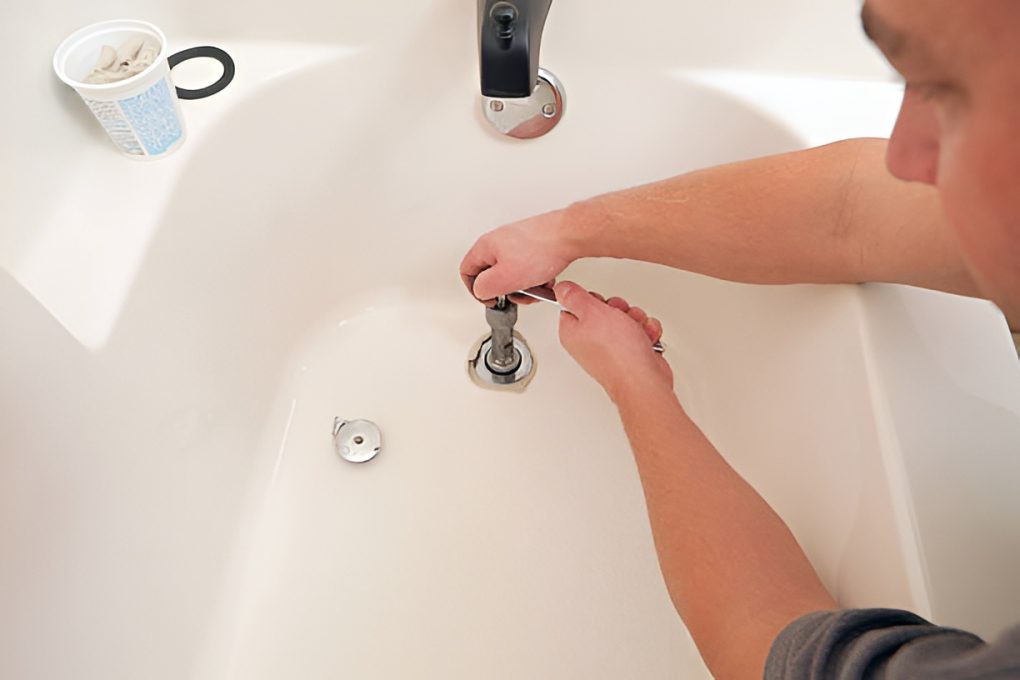
Step 3: Insert the Drain Assembly
- Place the drain body into the tub opening.
- From underneath, screw the drain nut onto the drain body.
- Use pliers or an adjustable wrench to tighten the connection securely. Avoid over-tightening, which can crack the tub or damage the flange.
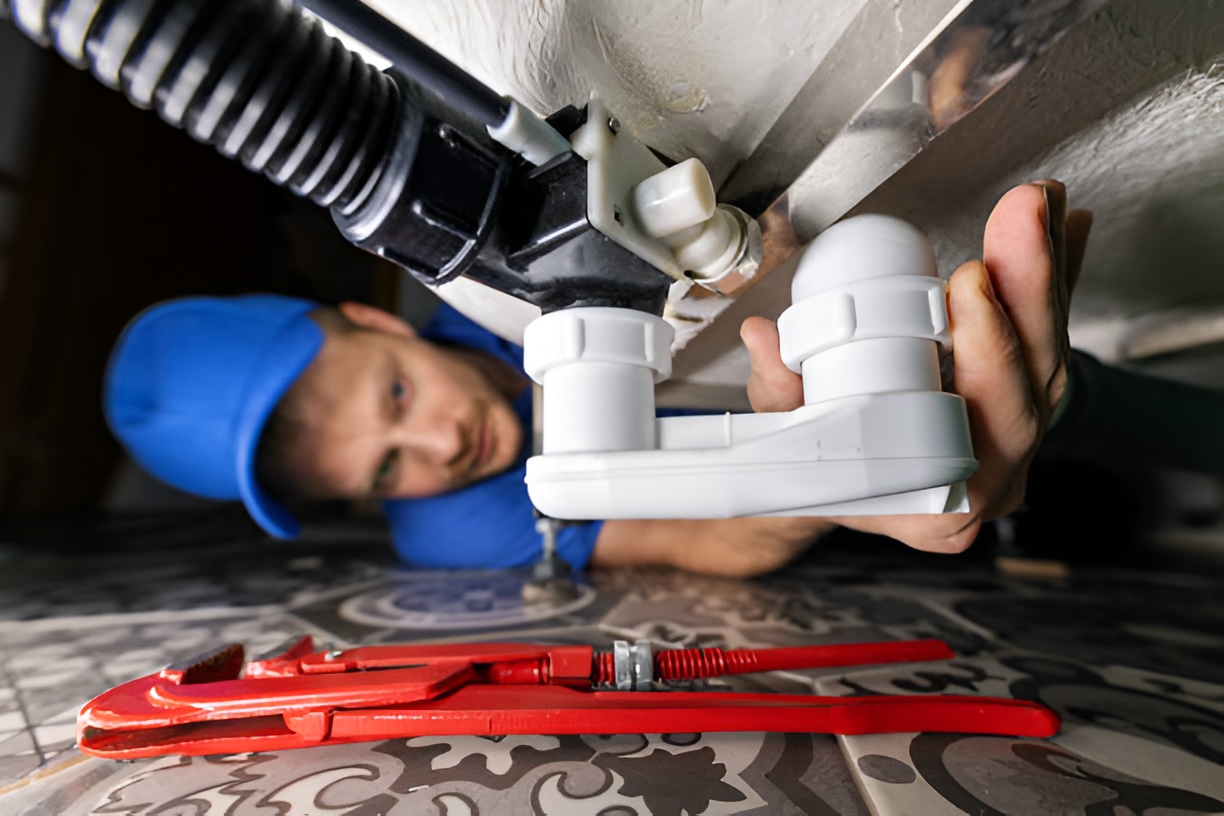
Step 4: Connect the Drain Pipe
- Attach the drain pipe to the P-trap underneath the tub.
- Use Teflon tape on threaded connections to prevent leaks.
- Make sure the pipe is aligned properly to ensure smooth water flow.
Step 5: Test for Leaks
- Run water into the tub and observe the drain connections.
- Check for any dripping or moisture. Tighten connections if necessary.
- Remove excess plumber’s putty or sealant that squeezed out around the flange.
How Long Does It Take to Install a Bathtub Drain?
For most DIYers, installing a bathtub drain can take anywhere from 30 minutes to two hours, depending on experience and whether any complications arise. Factors that affect the timeline include:
- Type of drain being installed
- Condition of the old drain and plumbing
- Accessibility of the drain pipe
Planning ahead and having all tools ready will reduce the time and stress involved.
Common Mistakes to Avoid
Even experienced DIYers can make mistakes when installing a bathtub drain. Avoid these common pitfalls:
- Using too much plumber’s putty, which can create a mess
- Over-tightening the drain flange, causing cracks
- Failing to check pipe alignment, leading to slow drainage
- Neglecting to test for leaks before finishing
- Ignoring the type of stopper mechanism, which can affect function
Being aware of these mistakes ensures a smooth installation process.
Do You Need a Professional?
While installing a bathtub drain is a manageable DIY project for many, some situations may require professional help:
- Cracked or damaged tub openings
- Corroded or outdated plumbing that needs replacement
- Complex drain systems with multiple connections
Calling a plumber in these cases can prevent bigger problems and costly repairs down the line.
Tips for a Stress-Free Installation
Here are some extra tips to make the process smoother:
- Lay down towels to protect your tub and surrounding floor.
- Keep a small bucket handy for residual water.
- Read the drain manufacturer’s instructions thoroughly before starting.
- Work slowly and methodically rather than rushing.
- Keep all tools within reach to avoid unnecessary trips under the tub.
These small steps can make a big difference in reducing stress and preventing messes.
How to Maintain Your Bathtub Drain After Installation
Once your new drain is installed, proper maintenance will keep it functioning smoothly.
- Clean the drain regularly to prevent hair and soap buildup.
- Avoid pouring grease or oils down the drain.
- Check connections periodically for leaks or loose fittings.
- Consider installing a drain screen to catch debris.
Regular maintenance prolongs the life of your bathtub drain and keeps your bathroom free of water problems.
Quick FAQ About Bathtub Drain Installation
Can I install a bathtub drain without removing the tub?
Yes, in most cases, you don’t need to remove the tub. Access the drain from underneath and follow the steps outlined above.
What if my drain won’t screw in properly?
Check for debris or damage in the drain opening. Ensure threads are aligned and clean. If necessary, replace worn-out parts.
Do I need plumber’s putty or silicone?
Plumber’s putty is traditional and works well on most tubs. Silicone sealant is an alternative, especially for tubs where putty may not adhere well.
Is it normal for a new drain to leak slightly at first?
A small amount of seepage may occur until the plumber’s putty or sealant cures. If leaks persist after 24 hours, tighten connections or check for alignment issues.
Wrapping It Up
Installing a bathtub drain doesn’t have to be intimidating. With the right preparation, tools, and step-by-step guidance, you can complete the job without making a mess or stressing yourself out. Remember to take your time, follow instructions, and double-check all connections. Once installed correctly, your bathtub will drain efficiently and your bathroom will stay safe and dry for years to come.