Key Takeaways:
- Preparation is key: Measure your space, gather all tools and materials, and inspect floors and walls to ensure a stable, level foundation before starting.
- Choose the right tub and material: Selecting the type (freestanding, alcove, drop-in) and material (acrylic, fiberglass, cast iron) impacts installation difficulty, durability, and bathroom layout.
- Proper positioning and plumbing alignment: Dry-fit the tub, check levels, and confirm drain and faucet connections to avoid leaks and uneven placement.
- Secure and seal correctly: Use mortar, shims, brackets, and high-quality silicone to ensure the tub is stable and water-tight.
- Test thoroughly: Fill the tub partially to check the drain and overflow, and inspect surrounding walls and floors for leaks before finishing.
- Know your limits: Some installations—heavy tubs, complex plumbing, or damaged floors—may require a professional to ensure safety and a long-lasting result.
Installing a bathtub may sound like a daunting task, but with the right guidance and preparation, it’s completely doable even for beginners. Whether you’re renovating your bathroom, replacing an old tub, or installing a new one for the first time, this guide will walk you through everything you need to know, from choosing the right bathtub to finishing touches.
Why Installing a Bathtub Yourself Can Be a Great Idea
Taking on a bathtub installation project can save you money and give you the satisfaction of completing a DIY home project. Hiring a professional plumber can be expensive, and a little research and preparation can allow you to do it safely and efficiently.
Some benefits include:
- Cost savings: Professional installation can be pricey, and DIY can cut costs significantly.
- Skill-building: You’ll learn valuable plumbing and carpentry skills.
- Customization: You have full control over the layout, materials, and design choices.
Before diving in, make sure you have the time, patience, and tools needed for this project. Bathtub installation isn’t a quick weekend job—it can take several days depending on prep work and plumbing adjustments.
What You’ll Need Before You Start
Preparation is key to a smooth installation. Here’s a checklist of what you’ll need:
Tools
- Adjustable wrench and pliers
- Screwdrivers (flathead and Phillips)
- Drill with bits
- Level and tape measure
- Hacksaw (for trimming pipes if needed)
- Silicone gun for sealant
Materials
- Bathtub of your choice (freestanding, alcove, or drop-in)
- Drain kit and overflow assembly
- Plumbing pipes and fittings
- Support materials like mortar or shims for leveling
- Waterproofing materials (optional but recommended)
Having all the necessary tools and materials ready before starting prevents interruptions and mistakes.
Step 1: Choosing the Right Bathtub for Your Bathroom
Choosing the perfect bathtub isn’t just about style—it affects how easy your installation will be and how functional your bathroom will become. Start by measuring your bathroom carefully, noting the location of doors, windows, and existing plumbing. Make sure there’s enough clearance for walking around, and leave space for any other fixtures like toilets or vanities.
Types of Bathtubs
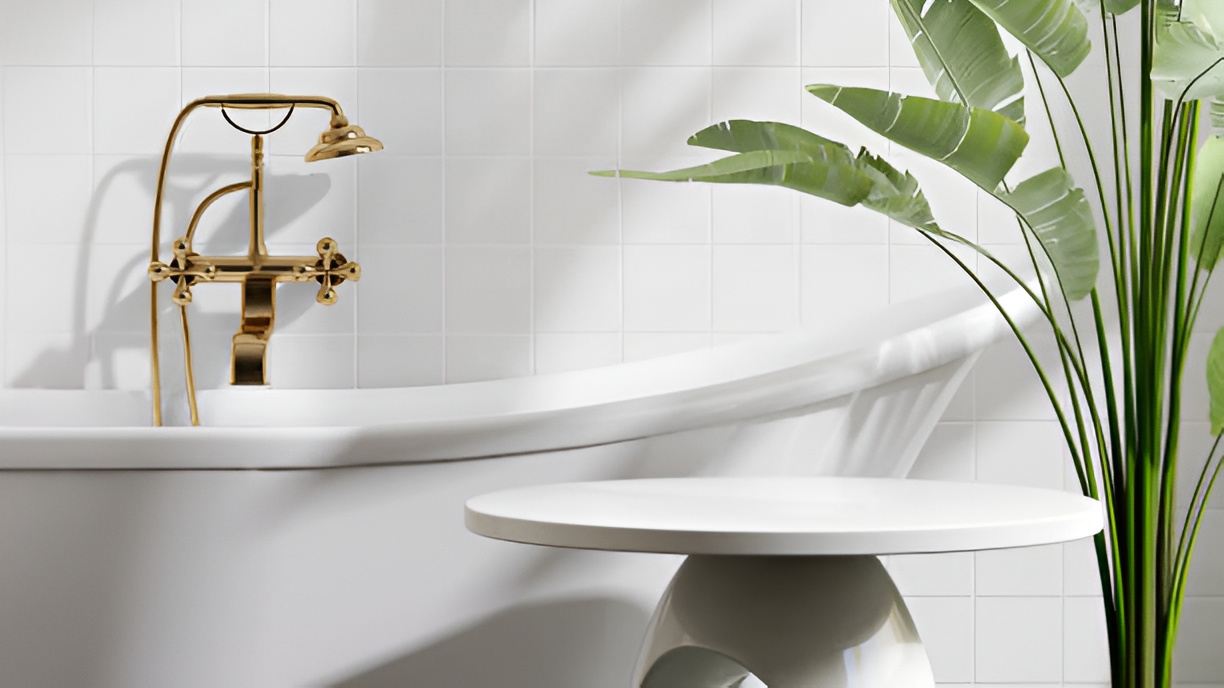
- Freestanding tubs: These are great for making a statement in your bathroom. They can be placed anywhere with proper plumbing access, offering design flexibility. Keep in mind that freestanding tubs usually require additional plumbing work for the drain and sometimes the faucet.
- Alcove tubs: Standard in most homes, these fit into a three-wall recess. Alcove tubs are easier to install because the plumbing is usually already in place and they don’t require complex leveling. They also provide a clean, space-efficient look.
- Drop-in tubs: Installed into a pre-built deck or frame, drop-in tubs allow for a lot of customization, such as tiling around the edges. However, accurate measurements are critical, and the framing must be perfectly level to prevent leaks or rocking.
Materials
- Acrylic: Lightweight, resistant to chipping, and available in many shapes and sizes. Acrylic tubs are easier to handle during installation and less demanding on your subfloor.
- Fiberglass: Very affordable and lightweight, fiberglass tubs are easy to cut or modify if needed. They are less durable than acrylic and prone to scratching over time.
- Cast iron: Extremely durable and excellent at retaining heat, cast iron tubs add a luxurious feel. They are very heavy, so the floor may need extra support, and installation can be challenging for beginners.
Pro Tip: Always double-check the tub dimensions against your bathroom space, including doorways and hallways. You don’t want surprises when moving the tub into place.
Step 2: Preparing Your Bathroom
Proper preparation ensures the installation goes smoothly and avoids problems down the line.
Remove the Old Bathtub
- Turn off the water supply to avoid leaks or flooding.
- Disconnect the drain and overflow pipes. Keep a bucket handy to catch any residual water.
- Remove surrounding tiles or drywall carefully if needed, especially if you’ll be installing a larger or different-style tub.
- Lift out the old tub with at least one helper—it’s heavier than it looks. A crowbar or pry bar can help free the tub from its surrounding structure.
Prepare the Floor and Walls
- Check for damage: Inspect the subfloor and surrounding walls for rot, water damage, or mold. Replace any damaged areas to ensure a strong foundation.
- Level the floor: Use a level to check the subfloor. If it’s uneven, use shims or a mortar bed to create a flat, stable surface.
- Apply waterproofing: Consider a waterproof membrane or backer board around the tub area to prevent leaks from causing future damage.
Pro Tip: A clean, level surface is essential for a leak-free, stable tub. Skipping prep can lead to rocking tubs, cracked tiles, and plumbing issues later.
Step 3: Positioning the Bathtub
Correct placement ensures a snug fit and proper drainage.
- Dry-fit the tub: Place it in the intended spot without securing it. Check that it fits comfortably and aligns with existing plumbing.
- Level the tub: Use a carpenter’s level side-to-side and front-to-back. Even a slight tilt can cause water to pool or strain the drain.
- Mark drain locations: Ensure the tub’s drain aligns with the existing plumbing. Adjustments may be necessary if installing a different tub type or size.
- Adjust framing if needed: Some tubs require minor carpentry changes to accommodate the drain, faucet, or overflow assembly.
Pro Tip: Always double-check measurements and alignment before proceeding to plumbing connections. It’s much easier to adjust now than after the tub is set.
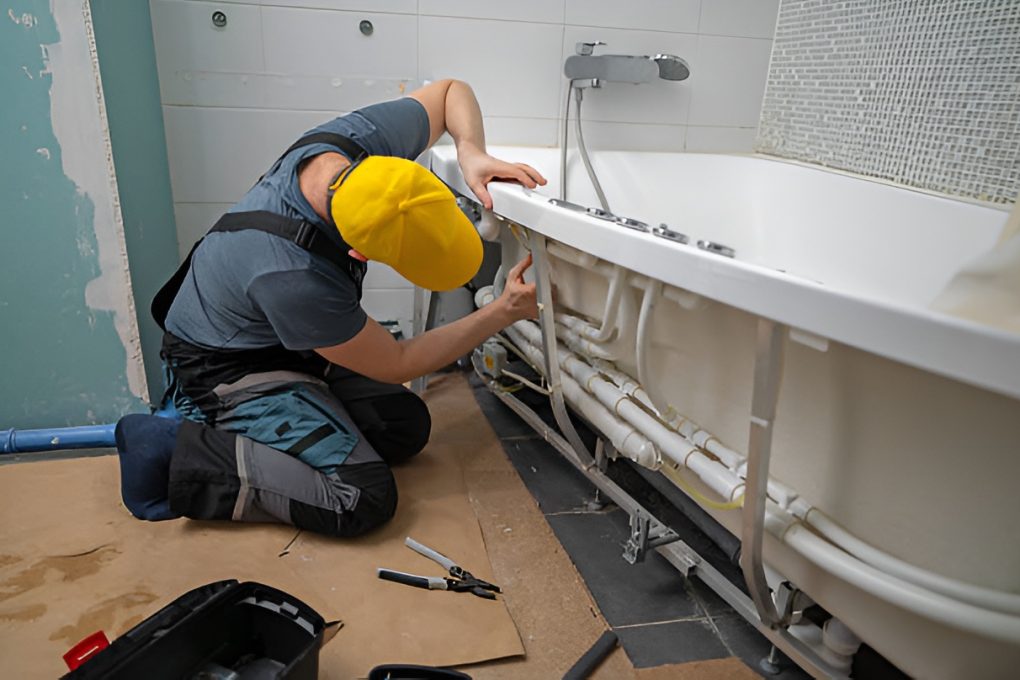
Step 4: Connecting the Drain and Overflow
This step is critical for a leak-free bathtub.
Installing the Drain
- Attach the drain flange to the bottom of the tub as per the manufacturer’s instructions.
- Apply plumber’s putty or silicone around the flange to create a watertight seal.
- Connect the tailpiece to the existing drain line, using appropriate fittings and ensuring tight connections.
Installing the Overflow
- Secure the overflow plate and gasket to the tub.
- Connect the overflow pipe to the drain assembly.
- Make sure all connections are snug but not overtightened—overtightening can crack the tub or fittings.
Pro Tip: Test the drain and overflow with a small amount of water before proceeding to full installation. This helps catch leaks early.
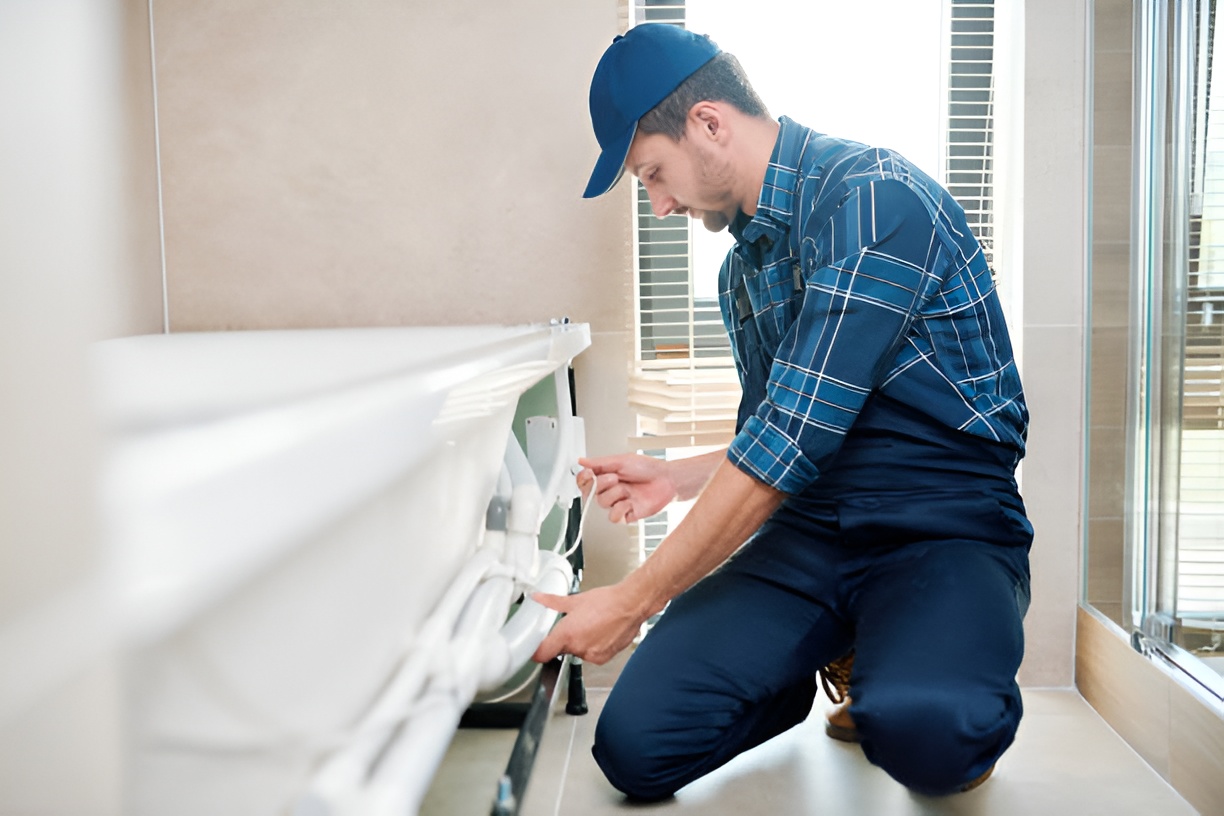
Step 5: Securing the Bathtub
The method depends on your tub type, but stability is always crucial.
Alcove or Drop-In Tubs
- Apply a layer of mortar under the tub for added support.
- Place the tub in position and check for level again.
- Use shims as needed to prevent rocking.
- Attach any flanges or mounting brackets to wall studs for extra stability.
Freestanding Tubs
- Most have adjustable feet; carefully level the tub on all sides.
- Ensure the tub does not wobble before connecting the drain.
- Double-check the tub’s position in relation to walls and plumbing.
Pro Tip: Stability is key. A tub that rocks or is uneven can stress the plumbing, causing leaks or long-term damage.
Step 6: Connecting Water Supply (Optional)
If you’re moving or installing a new faucet setup, follow these steps carefully.
- Turn off water supply before starting.
- Connect hot and cold water lines to the faucet according to instructions.
- Test for leaks before finishing surrounding walls.
- For wall-mounted or deck-mounted faucets, ensure proper alignment with the tub and check that pipes are secure.
Pro Tip: Even minor misalignments can cause water to drip or strain plumbing joints. Take your time to measure and connect accurately.
Step 7: Sealing the Tub
Sealing prevents water from seeping behind walls or flooring, protecting your bathroom from damage.
- Apply high-quality silicone sealant around all edges where the tub meets walls or tile.
- Smooth the sealant using a wet finger or finishing tool for a clean line.
- Allow the sealant to cure fully before using the tub—usually 24 hours or as directed.
Pro Tip: Don’t skip sealing. Even small gaps can lead to mold, rot, or water damage over time.
Step 8: Testing Your Work
Testing ensures everything functions as intended.
- Fill the tub partially with water.
- Check the drain for leaks and confirm the overflow works.
- Inspect surrounding walls and floors for signs of moisture.
- Make adjustments if any issues are found.
Pro Tip: Testing before finishing surrounding walls or flooring saves a lot of headaches. Catch leaks early while adjustments are easier.
Common Mistakes to Avoid When Installing a Bathtub
Even experienced DIYers can make mistakes. Avoid these pitfalls:
- Installing the tub on an uneven floor.
- Forgetting to apply plumber’s putty or silicone to the drain flange.
- Overtightening fittings, which can crack pipes or the tub.
- Ignoring waterproofing around walls and floor.
- Rushing the curing time for sealant before use.
Tips for a Smooth Installation
- Have a helper: Tubs are heavy and awkward to move.
- Follow manufacturer instructions: Each tub has unique requirements.
- Measure multiple times: Double-check dimensions and plumbing alignment.
- Keep tools handy: Reduces frustration and mistakes.
- Take your time: Patience ensures a professional, leak-free finish.
How to Install a Bathtub in a Small Bathroom
Small spaces present challenges but are manageable:
- Choose a corner or compact tub to save space.
- Consider a freestanding tub for flexible layout options.
- Plan plumbing and faucet placement carefully to maximize usability.
- Use vertical storage solutions like shelves above the tub to keep the space functional without crowding.
How to Install a Bathtub on a Budget
Saving money doesn’t mean cutting corners:
- Choose lightweight acrylic or fiberglass tubs over heavy cast iron.
- Reuse existing plumbing when possible.
- Handle prep work yourself, such as removing the old tub or prepping walls.
- Buy tools and materials during sales, or rent tools instead of buying.
When to Call a Professional
While DIY bathtub installation is achievable, some situations may require professional help:
- You’re dealing with complex plumbing or relocated drains.
- Your floor or walls have severe damage.
- The bathtub is extremely heavy, like cast iron.
- You’re not confident in achieving a level, stable installation.
Hiring a professional can save time, prevent mistakes, and ensure your new bathtub is safe and leak-free.
Maintaining Your Newly Installed Bathtub
Once your tub is installed, keeping it in good condition ensures it lasts for years.
- Clean regularly with non-abrasive cleaners.
- Check seals and grout for cracks and repair immediately.
- Avoid dropping heavy objects into the tub to prevent chips or cracks.
- Inspect plumbing connections periodically for leaks.
Final Thoughts
Learning how to install a bathtub is empowering. It saves money, teaches new skills, and allows you to customize your bathroom to your exact preferences. By carefully planning, preparing your bathroom, and following these steps, even beginners can achieve a professional-looking, durable installation. Remember, patience and attention to detail are your best tools.
Installing a bathtub is not just a home improvement project—it’s an investment in comfort, style, and functionality that can enhance your entire bathroom experience.